

Bosses+ Add-On
Bosses+ adds eleven new bosses to your survival world. Each boss is summoned with a custom structure, fights with its own attack patterns, and drops a wearable head plus a unique utility item. Boss difficulty scales with your Bad Omen level, and the head you get matches the tier you fought.
View on Minecraft Marketplace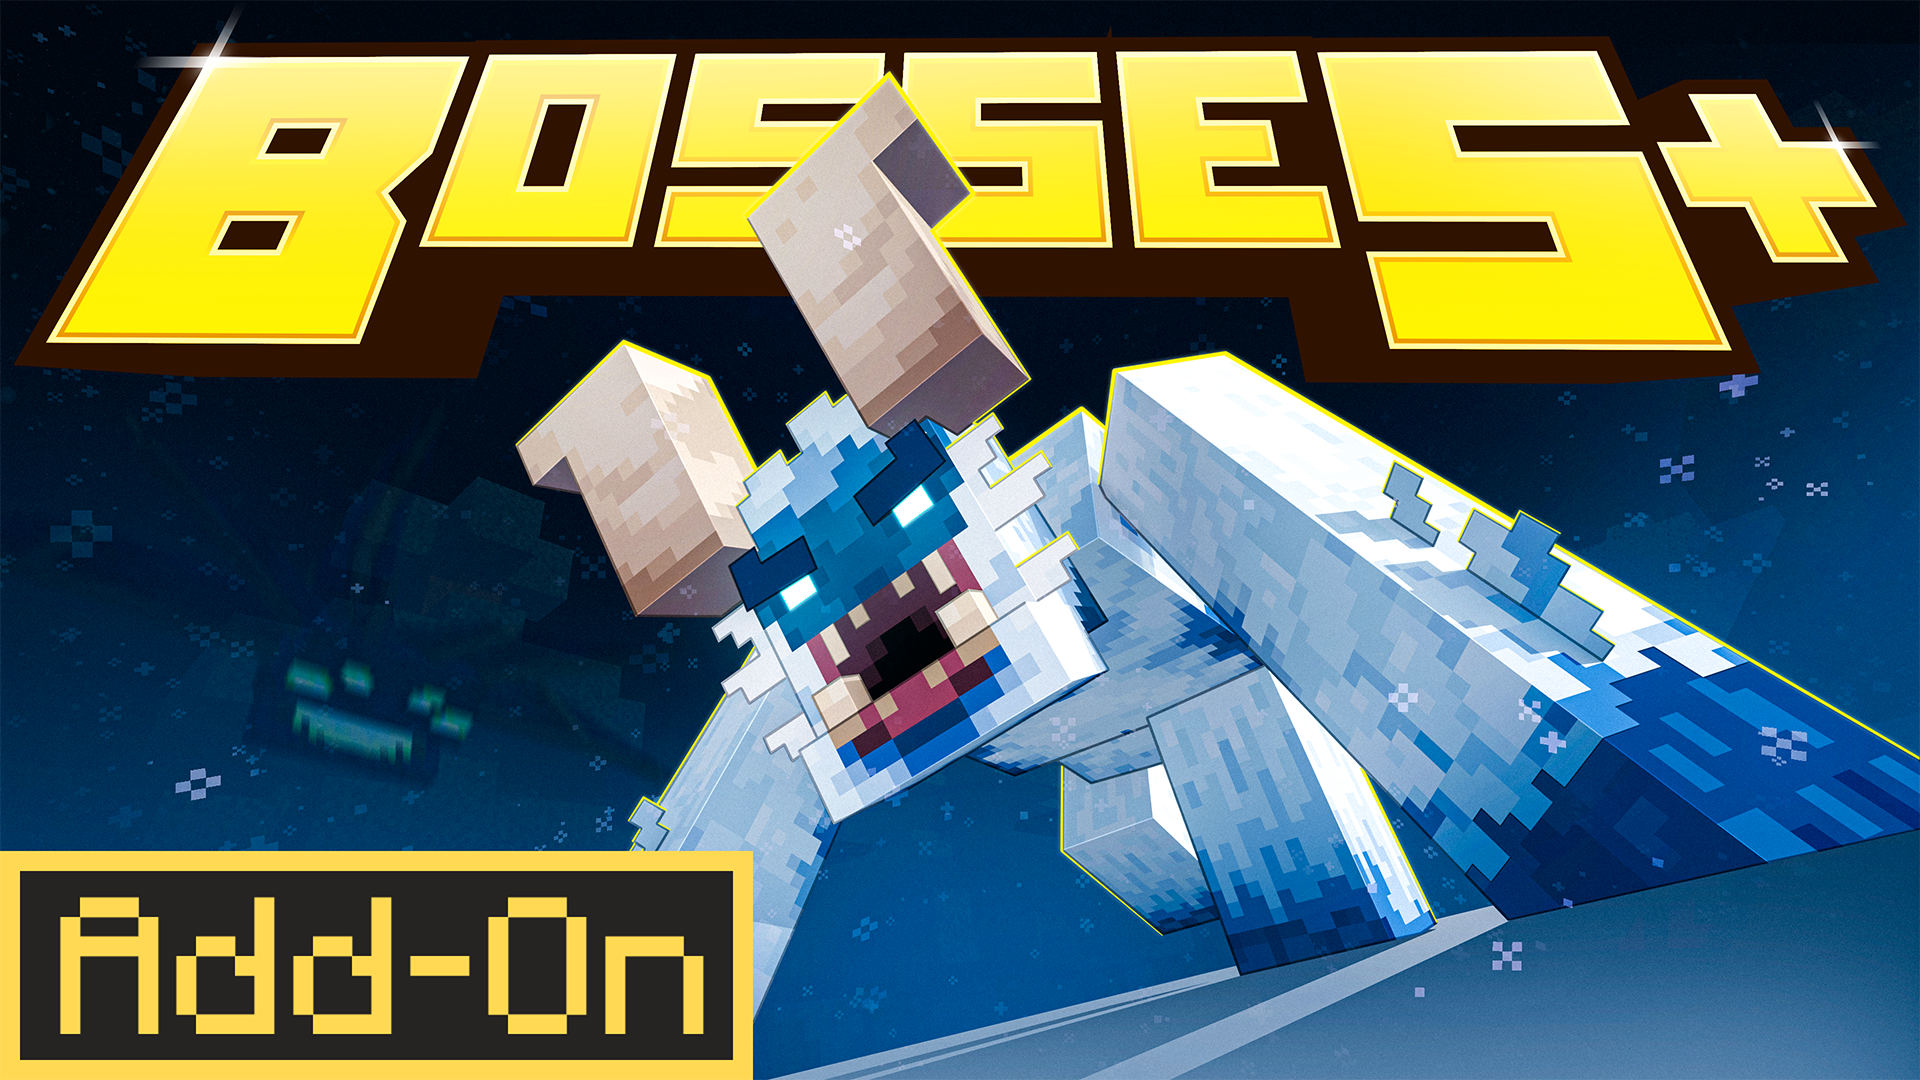
Summoning Bosses
Section titled “Summoning Bosses”Each boss is summoned the same way you summon a Wither. Build the boss structure, then place a Carved Pumpkin on top. The wrong structure won’t summon anything, so follow the in-game book exactly.
When the boss spawns, it clears a 5x5 area around itself. This stops you from getting trapped inside the summoning blocks.
When you join a world with the add-on, you get a  guidebook with the structure layout for every boss.
Difficulty Scaling
Section titled “Difficulty Scaling”Boss strength is set by your  Bad Omen effect level at the moment of summoning. Higher Bad Omen, harder boss.
There are six tiers:
| Tier | Strength |
|---|---|
| Common | Weakest. No Bad Omen required. |
| Uncommon | Bad Omen I |
| Rare | Bad Omen II |
| Epic | Bad Omen III |
| Legendary | Bad Omen IV |
| Impossible | Bad Omen V |
Rewards
Section titled “Rewards”When you defeat a boss, you get:
- A Potion of Bad Omen one level higher than the tier you defeated. Use it to summon the next tier up.
- A boss head matching the tier you defeated. Each boss has six different heads, one per difficulty. Heads behave like the Ender Dragon Head: wear them as a helmet or place them on blocks. Hit or interact with a placed head to pick it back up.
- The boss’s unique utility item, a vanilla-useful tool or weapon you can take into survival. Each boss has its own item, listed in that boss’s section below. Items that have durability can be fully repaired with 1 Diamond in an Anvil or Crafting Table.
This creates a loop. Beat a Common boss to earn the Uncommon potion. Beat the Uncommon to earn the Rare. Push all the way to Impossible if you want the full head set.
Signature Attacks
Section titled “Signature Attacks”On Impossible difficulty, some bosses unlock a Signature Attack. This is a unique ability only available at the top tier of the difficulty ladder. Lower tiers fight without it.
Signature attacks are the hardest moves in the add-on. Many of them have a counter built in (a stun window, a cancellable charge phase, or a specific position to stand in). Each boss section below calls out its signature attack if it has one.
Bosses
Section titled “Bosses”Each boss has its own attack pattern and drops a unique reward item. Some unlock a signature attack on Impossible difficulty.

The Yeti fights in two phases.
- Phase 1. Melee attacks only.
- Phase 2. Triggered when its health drops to 30%. The Yeti eats meat to regenerate, then enters phase 2. In phase 2 it uses melee attacks and a charge attack every few seconds. The charge boosts its speed and knocks you back.
- Signature attack — Rage Mode. At 66% health, the Yeti physically grows larger with camera shake and deals 30% more damage. A further size increase and a 60% damage bonus kicks in during phase 3.
Yeti’s Meat Club 
Section titled “Yeti’s Meat Club ”Food that never runs out, served as a club. Eat from it whenever you’re hungry.
- Durability: 32
Phantom Queen 
Section titled “Phantom Queen ”The Phantom Queen has three phases and three attack types.
- Phase 1. Melee attacks only.
- Phase 2. Melee attacks, plus rarer wing attacks that send shockwaves.
- Phase 3. Melee and wing attacks, with wing attacks happening more often than in phase 2.
Phases switch every time the Phantom Queen loses 30% of its health. Each phase change triggers a dive attack. During the dive she is invulnerable and damages every entity nearby.
Phantom Wand 
Section titled “Phantom Wand ”Interact to spawn a Phantom Queen Ghost. The ghost flies forward and damages entities it touches.
- Durability: 64
Piglin Warchief 
Section titled “Piglin Warchief ”The Piglin Warchief has four phases and three attack types.
- Phases 1 to 3. Melee sword attacks only.
- Phase 4. Melee sword attacks plus a random area torch attack.
Phases switch every time the Piglin Warchief loses 25% of its health. Each phase change triggers a torch blow, a ranged attack.
Signature attack — Torch Spear. The Warchief throws flaming spears that arc through the air and land at your predicted position. Thrown torches can stick to walls. When the Warchief uses its flamethrower or melee, every placed torch chain-detonates in sequence. You can trigger the same chain reaction by hitting a placed torch yourself.
Piglin’s Torch Box 
Section titled “Piglin’s Torch Box ”Places Soul Fire Torches without using up the item. Can be placed on snow.
- Durability: 128
Amethyst Golem 
Section titled “Amethyst Golem ”The Amethyst Golem has one phase with several attacks.
- Melee or area attack. Knocks you back. The boss randomly chooses between melee and area for each attack.
- Area attack. Prevents you from getting close.
- Laser attack. Fired when you are more than 8 blocks away. The laser destroys blocks.
- Signature attack — Lock-On Laser. The golem rises into the air and locks a flashing beam onto you. The beam flashes faster and the pitch rises as it builds urgency. After 3 seconds, the golem fires a laser projectile that explodes on impact. Standing close to the golem when it fires deals direct hit damage.
The Amethyst Golem can break blocks with its laser. This is intentional.
Crystal Laser 
Section titled “Crystal Laser ”Hold Interact to fire a laser ray like the one Amethyst Golem uses. The laser fires for up to 4 seconds, then enters a 3-second cooldown before you can fire again. It destroys most blocks in its path, and broken ice turns into water like vanilla.
- Durability: 512
Sculkpion 
Section titled “Sculkpion ”The Sculkpion has one phase with four attack types.
- Laser. A ranged beam attack.
- Stab. A melee attack.
- Smash with knockback roar. A close-range slam that knocks you back.
- Summon minions. Spawns Sculkpion Minions that attack like Zombies.
Attack choice is randomized and also depends on how far you are from the boss. Plan for adds during the whole fight.
Mob Sensor 
Section titled “Mob Sensor ”Highlights nearby mobs through blocks. Use it to find mobs hiding in walls, caves, or behind structures.
Ender Box 
Section titled “Ender Box ”The Ender Box never walks. It teleports based on your distance: too close and it teleports away, too far and it teleports closer. Range control is its job, not yours.
It has three attacks.
- Knockback roar. A close-range push that creates space.
- Levitation projectile. A custom projectile that triggers a levitation aura and an explosion on impact.
- Shulker bullets. Custom bullets that apply a stronger, shorter levitation than the vanilla Shulker version.
Attack choice depends on your distance. Stay at mid-range and the boss mixes bullets and projectiles instead of teleporting nonstop.
Orb of Ender 
Section titled “Orb of Ender ”Interact to teleport long distances to the block you are looking at. You take no fall damage on arrival. Useful for traversal, vertical movement, and escaping during boss fights.
Creaking Frog 
Section titled “Creaking Frog ”The Creaking Frog has four attack types, all randomized and adjusted to your distance.
- Leap attack. Jumps toward you, dealing damage and destroying blocks on impact.
- Tongue pull. Yanks you closer when you try to keep distance.
- Spit attack. Shoots a projectile that creates a particle pool, applying negative effects to anything inside it.
- Summon Totem. Summons a Frog Totem that grants the boss protection. You have to destroy the totem before you can damage the boss again.
Frog Totem 
Section titled “Frog Totem ”Place it down to gain Resistance, Health Boost, and Regeneration while you are near it. A portable buff station, perfect for setting up before a hard boss fight.
Crimson Mammoth 
Section titled “Crimson Mammoth ”The Crimson Mammoth has multiple attack types, randomized and distance-based.
- Melee attack. A powerful close-range hit.
- Charge attack. Devastating damage and destroys blocks in its path.
- Stomp. A heavy stomp that sends a shockwave outward.
- Magma Earthquake. Spawns moving fire poles that wander the arena and damage anything they touch.
- Signature attack — Fire Suck and Spit. The Mammoth sucks nearby fire blocks up through its trunk, becoming immune during the suck phase. Once charged, it spits a cone of fire that damages you and sets the ground ablaze.
Crimson Tusk 
Section titled “Crimson Tusk ”Held item that gives you Fire Resistance while you carry it in the main hand or offhand. Essential for Nether trips and for fighting the Crimson Mammoth itself.
Ancient Dweller 
Section titled “Ancient Dweller ”The Ancient Dweller has multiple attack types, randomized and distance-based.
- Melee attack. A powerful close-range hit.
- Tail swing. A heavy swing that deals damage, knocks you back, and destroys blocks.
- Roar. A strong roar that pushes you away.
- Digging. Burrows underground and emerges from beneath you to attack.
- Signature attack — Tail Burrow. The dweller burrows under and only the tail surfaces at a random spot near you. The tail fires explosive ground trails that crawl toward you with warning particles and sounds before detonating. Hit the exposed tail to stun the boss. It repositions multiple times before re-emerging fully.
The Ancient Dweller is immune to projectile damage. You have to engage in melee. Bring strong armour, healing food, and a good sword.
Ancient Dweller Boss Item 
Section titled “Ancient Dweller Boss Item ”Use it to summon a Not So Ancient Dweller, a baby beetle companion. It can sit, walk, and follow you around, and it fights alongside you in combat. Useful for soloing other bosses or as a damage soak.
Copper Titan 
Section titled “Copper Titan ”The Copper Titan has multiple attack types, randomized and distance-based.
- Pickaxe melee. A powerful close-range hit.
- Chainsaw spin. A continuous area attack that damages every player nearby.
- Jetpack jump. A big leap that lets it close distance fast and deals damage where it lands.
- Digging. Burrows underground and emerges from beneath you.
- Signature attack — Flamethrower. Fires twin streams of flame from arm-mounted cannons, tracking you. Flames extend up to 20 blocks and stop at solid blocks. Break line of sight with a wall to shut it down. A missile attack is also added at the Impossible tier.
Every attack is avoidable with precise timing. The Copper Titan also takes much reduced projectile damage, so melee is the strongly preferred approach. Time your dodges and stay close.
Transmutation Chamber 
Section titled “Transmutation Chamber ”An interactive block dropped by the Copper Titan. Place it down and use it to craft boss-related items.
Monkey Boss 
Section titled “Monkey Boss ”The Monkey Boss has five attack types, adapting to your health and distance. As it loses HP, its combos get longer and more relentless.
- Melee combos. Overhead smashes, head sweeps, and foot sweeps at close range. Each combo ends with rapid shadow follow-up strikes. Crouch to dodge the head sweep.
- Shadow projectile wave. Fires a wave of shadow clones in a straight line. The wave travels up to 35 blocks, dealing heavy damage to anyone in its path.
- Portal AoE. Summons around 25 portals that predict your movement. Each portal strikes after a short delay.
- Teleport. When you are too far away, the boss teleports through a portal to close the distance.
- Signature attack — Ultimate. The boss vanishes and spawns up to 40 shadow clones in a ring around you. Find and hit the correct clone within 10 seconds to stun the boss. Miss the window and every clone dash-attacks you in rapid succession.
Golden Gauntlet 
Section titled “Golden Gauntlet ”Launches you forward and leaves a shadow decoy behind. Great for closing distance, dodging out of an attack window, or baiting the next attack onto the decoy instead of you.
Boss Combat Notes
Section titled “Boss Combat Notes”- Bosses can attack other mobs and each other. Use this to your advantage if you can pull a second mob into the fight.
- A few mob types are excluded from each boss’s target list. The set is different for each boss.
- Boss heads are decoration. Wearing one does not change combat stats.
- Boss loot items with durability can be repaired with 1 Diamond, so don’t be afraid to use them.
- Boss tier is locked in at the moment of summoning by your Bad Omen level. You can’t escalate mid-fight.
- Prep before summoning. Bosses hit hard from the first second. Build the summoning area with cover and bring healing food.
- Start at Common. Push the difficulty ladder one tier at a time. The Bad Omen potion drop from each kill feeds straight into the next summon.
- Use the terrain against the Amethyst Golem. Its laser destroys blocks, so flat open ground is the worst place to fight it. Stand near broken cover so its laser is forced to chew through walls. Aim ranged attacks at its eye.
- Get the head every time. Each boss always drops its tier-matching head and utility item. Don’t skip the drops.
- Yeti’s Meat Club carries early game. The Yeti’s drop turns hunger management into a non-issue. Fight the Yeti first if you want an easier run at the others.
- Mid-range the Ender Box. Stand close enough that it doesn’t teleport away, but far enough that the roar can’t reach. That window is where it wastes attacks on shulker bullets and projectiles you can dodge.
- The Orb of Ender is an escape tool. Carry it during every boss fight. One use can pull you out of a knockback chain or reposition you above an attack, and you take no fall damage when you land.
- Destroy the Frog Totem first. The Creaking Frog is invincible while the totem is up. Burn it down before you waste swings on the boss.
- Place your own Frog Totem before hard fights. Resistance, Health Boost, and Regeneration stacked together massively extend your survival window.
- Fire Resistance for the Mammoth. Hold the Crimson Tusk during the fight. The Magma Earthquake is much less scary when fire damage stops mattering.
- Melee only against Ancient Dweller and Copper Titan. Arrows do nothing to the Ancient Dweller and barely tickle the Copper Titan. Bring a strong sword instead.
- Use the Ancient Companion for hard fights. Summoning the Not So Ancient Dweller gives you a second target on the field and chips in extra damage. Pair it with the Frog Totem for a serious survival edge.
- Crouch under the Monkey’s head sweep. Sneak the moment you see the combo start and the sweep passes over you.
- Pick the right clone in the Monkey’s ultimate. All 40 clones look alike, but only one is real. Watch the Monkey’s last position carefully before it vanishes and trust your instinct. Failing the check is the most punishing moment in the fight.
- The Golden Gauntlet is more than mobility. The shadow decoy it leaves behind can absorb the next attack a boss queues up. Save it for ultimates and lock-ons.
Changelogs
Section titled “Changelogs”Added
- New boss: Monkey Boss. Five attack types including shadow-clone projectile waves, predictive portal AoE, and a 40-clone ultimate. Difficulty-scaled attack thresholds and a persistent safe-spawning system.
- Golden Gauntlet, dropped by the Monkey Boss. Launches you forward and leaves a shadow decoy behind.
- Six Monkey Boss head tiers, one per difficulty.
New Signature Attacks (Impossible difficulty only)
- Amethyst Golem - Lock-On Laser. Rises into the air, locks a flashing beam onto you, and fires a laser projectile after 3 seconds. Direct hit damage at close range.
- Copper Titan - Flamethrower with a missile follow-up. Twin flame streams from arm cannons, range 20 blocks, stops at solid blocks.
- Yeti - Rage Mode. At 66% HP the Yeti grows larger with camera shake and deals 30% more damage. Phase 3 brings another size increase and a 60% damage bonus.
- Piglin Warchief - Torch Spear. Throws flaming spears that arc and can stick to walls. The Warchief's flamethrower and melee chain-detonate placed torches. You can also trigger the chain by hitting a torch.
- Crimson Mammoth - Fire Suck and Spit. Sucks nearby fire blocks through its trunk (immune during the suck), then spits a cone of fire that sets the ground ablaze. Destroy the fire entities during the suck phase to cancel the attack.
- Ancient Dweller - Tail Burrow. Burrows underground and only the tail surfaces, firing explosive ground trails. Hit the exposed tail to stun the boss. It repositions multiple times before re-emerging.
- Monkey Boss - Ultimate. The boss vanishes and spawns up to 40 shadow clones in a ring around you. Find and hit the correct one within 10 seconds to stun the boss.
Changed
- Ranged and AoE attacks now trigger at 8 blocks instead of 12, including the Amethyst Golem laser.
- Amethyst Golem nerfed to be less overpowered.
- AoE attack hitboxes are now more accurate.
- Scripting API upgraded.
- Updated key art, panorama, and screenshots.
- Recipe book page updates.
Fixed
- Improved death safe checks across every boss.
- Safer handling of player disconnect/reconnect during boss fights.
Added
- Two new bosses: Ancient Dweller and Copper Titan.
- Ancient Dweller Boss Item. Summons the Not So Ancient Dweller, a baby beetle companion that can sit, walk, and follow you around.
- Transmutation Chamber. An interactive block used to craft boss-related items.
- Six new head tiers each for the Ancient Dweller and Copper Titan, matching the difficulty scaling.
Changed
- Boss spawning now respects the MobGriefing gamerule.
- Updated guidebook with new boss descriptions, build guides, and difficulty scaling info.
Fixed
- playsound and camerashake commands fixed.
Notes
- Ancient Dweller is immune to projectile damage. Close combat only.
- Copper Titan takes much reduced projectile damage. Melee is strongly preferred.
Added
- Two new bosses: Creaking Frog and Crimson Mammoth.
- Crimson Tusk. Gives the player Fire Resistance while held in the main hand or offhand.
- Frog Totem. Place it down to give the player Resistance, Health Boost, and Regeneration.
- Difficulty Scaling. Bosses are now classified into six tiers (Common, Uncommon, Rare, Epic, Legendary, Impossible), set by the player's Bad Omen level at the time of summoning. Defeating a boss now rewards a Potion of Bad Omen one level higher and a boss head matching the difficulty tier.
Added
- Two new bosses: Sculkpion and Ender Box.
- Orb of Ender. Teleports the player long distances to the block they look at, with no fall damage on arrival.
- Mob Sensor. Highlights nearby mobs through blocks.
- Sculkpion Head and Ender Box Head.
Changed
- Bosses now destroy a 5x5 area around them when summoned, for a more dramatic entrance and so the player isn't trapped.
- Amethyst Golem's collision box updated so its eye is now vulnerable to projectiles.
- Crystal Laser now casts for 4 seconds, followed by a 3-second cooldown.
- Crystal Laser destroying ice now transforms it into water, matching vanilla ice behaviour.
- Endless Torches can now be placed on snow.
- Boss XP drops rebalanced.
- Boss bar name colours updated.
- Boss pathing improved. Bosses no longer walk into fire.
- Guidebook reformatted with entries for the new bosses and items.
Fixed
- Phantom Wand no longer damages items in the player's inventory.
- Bosses no longer drown.
- Boss drops can no longer be duplicated in item frames.
- Removed the leftover Golden Pickaxe from the starting inventory.
Changed
- Boss loot items now have durability. Crystal Laser: 512. Piglin's Torch Box: 128. Phantom Wand: 64. Yeti's Meat Club: 32.
- Crystal Laser projectile speed reduced by 50% as a technical trade-off for adding durability.
- Every boss item can be fully repaired with 1 Diamond.
- Renamed boss drops to match the names in the starting book: Endless Meat is now Yeti's Meat Club, Endless Torches is now Piglin's Torch Box, Laser Ray is now Crystal Laser.
- Guidebook updated to describe the new durability and repair mechanic.
- Scripting API updated from 1.9 to 1.13.
Release
- Initial release with four bosses: Yeti, Phantom Queen, Piglin Warchief, and Amethyst Golem.